Enabling Self-hosted Comments in WriteFreely using Isso
#programming #selfhost #isso #writefreely
I was building a comment system out of my Django website to be deployed anywhere but between housework and some freelancing at night I found out I didn't have the necessary stamina to create an easy commenting system. That's where I found out Isso, a Free Open Source Software commenting system
Isso is a small commenting server capable of embedding comments on external sites. It's lightweight and uses SQLite, which makes it versatile and pretty robust for my needs. Perfect! My debian box doesn't have many resources to spare.
This tutorial focuses on more technical aspects. If you're not nitpicky, don't have the technical skills and you're fine in using Disqus (I'm not!) I recommend you read Enabling Comments in WriteFreely (Hacky) by Teddy Hartanto.
Before continue, keep these two things in mind. If one of these is a deal breaker, you might not have much use for this tutorial:
- Isso has no spam protection at the moment
- Ensure you are self-hosting writefreely. This method doesn't work for you if not, since we'll be editing templates.
This tutorial is based on Isso's installation from source. It's quick and easy and doesn't require extra effort for someone well-versed in linux management.
I installed isso and virtualenv together on /var/www/isso
$ cd /var/www/
$ mkdir isso
$ cd isso
$ virtualenv env -p python3
$ source env/bin/activate
$ git clone https://github.com/posativ/isso.git
I've also created a logs folder, a supervisor.conf file and a nginx.conf file. This is a personal preference but I like to keep all configurations in the same folder.
Edits to isso/isso.cfg
These are the edits I made to the file. It only serves Writefreely for now but can be used on more sites in the future
[general]

dbpath = /var/www/isso/isso/isso/comments.db

host =
    https://write.guedes.com.pt/  # We can add more later

notify = stdout, smtp
log-file = /var/www/isso/logs/isso.log
gravatar = true

[server]

listen = http://localhost:4080  # important for nginx later

[smtp]

username = yourusername@example.com
password = yourpassword
host = smtp.gmail.com
port = 587
to = yourusername@example.com
from = "My Name" <yourusername@example.com>

[guard]

enabled = true
require-author = true
require-email = true
My supervisor configuration
[program:isso]
command = /var/www/isso/env/bin/isso -c /var/www/isso/isso/isso/isso.cfg run
directory = /var/www/isso
user = root
autostart = true
autorestart = true
stdout_logfile = /var/www/isso/logs/supervisor.log
stderr_logfile = /var/www/isso/logs/supervisor_err.log
environment = LANG="en_US.UTF-8"
I then symlinked it to /etc/supervisor/conf.d/ and update supervisor
$ sudo ln -s /var/www/isso/supervisor.conf /etc/nginx/conf.d/isso.conf
$ sudo supervisorctl reread && sudo supervisorctl update
My nginx configuration
server {
    listen [::]:80;
    server_name comments.guedes.com.pt;

    location / {
        proxy_pass http://localhost:4080;
        proxy_set_header X-Forwarded-For $proxy_add_x_forwarded_for;
        proxy_set_header Host $host;
        proxy_set_header X-Forwarded-Proto $scheme;
    }
}
Symlinking it again
$ sudo ln -s /var/www/isso/nginx.conf /etc/nginx/sites-enabled/isso.conf
$ sudo service nginx configtest
[ ok ] Testing nginx configuration:.
$ sudo service nginx reload
You have Let's Encrypt? Good. Encrypt everything by running sudo certbot --nginx and that should be it for the installation
Writefreely
You should backup and edit your templates/collection-post.tmpl file and add the script inside <article id="post-body">, at the end.
-		<article id="post-body" class="{{.Font}} h-entry {{if not .IsFound}}error-page{{end}}">( ... )</article>
+		<article id="post-body" class="{{.Font}} h-entry {{if not .IsFound}}error-page{{end}}">( ... )
+			<div id="isso-thread">
+				<noscript>Javascript needs to be activated to view comments.</noscript>
+			</div>
+		</article>
The script should be added slightly below, before other scripts
        {{if .Collection.CanShowScript}}
                {{range .Collection.ExternalScripts}}<script type="text/javascript" src="{{.}}" async></script>{{end}}
                {{if .Collection.Script}}<script type="text/javascript">{{.Collection.ScriptDisplay}}</script>{{end}}
        {{end}}
+        <script data-isso="https://comments.guedes.com.pt/" src="https://comments.guedes.com.pt/js/embed.min.js" />
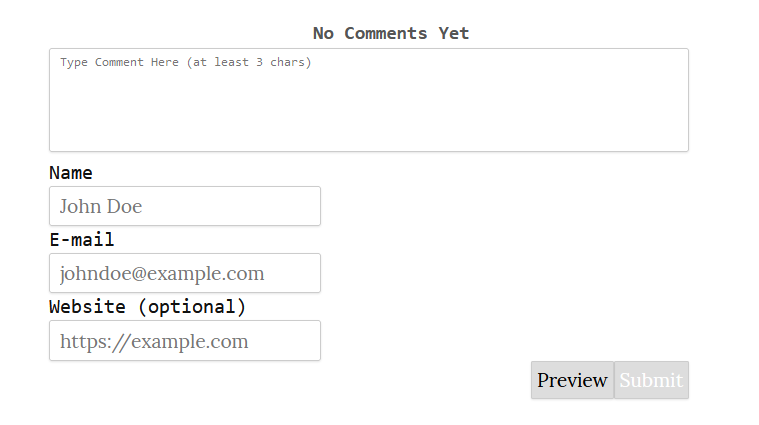
You can now restart and you should be presented with a slightly ugly commenting box
Editing commenting box styles
Go to the Customize section of your settings and add this to the Custom CSS to make it a bit more cleaner.
h4.isso-thread-heading{
    display: none !important;
}

body#post #isso-root{
    white-space: normal !important;
}

.isso-auth-section{
    display: flex !important;
    flex-wrap: wrap;
    justify-content: flex-end;
    margin: 0 -1px !important;
}

.isso-input-wrapper{
    /**display: inline-block !important;**/
    width: calc(100%/3);
    padding: 0 1px !important;
}

.isso-post-action{
    margin-top: 4px !important;
    padding: 0 1px !important;
}
You now have a comment box slightly less ugly.
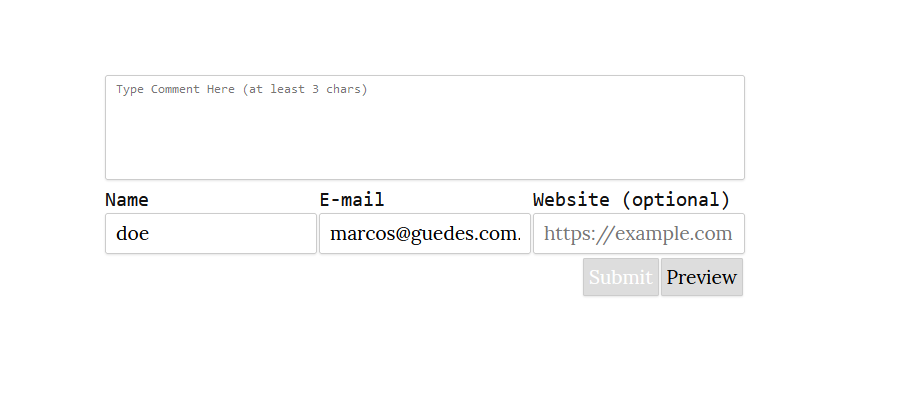
There's a bit more to be done in terms of styling but this should give you a base to grow further.
Final considerations
I'm not yet sure how it works against SPAM but I believe it shouldn't work very well. There's an open issue with some suggestions but no solution. Take that into consideration.
Furthermore I configured SMTP with Isso to send email to approve/reject comments. You might not want the hassle. You can enable an admin page instead in your isso.cfg
[admin]
enabled = true

# Admin access password
password = asecurepassword